|
|
Post by 68383 on Jul 25, 2021 18:53:35 GMT -5
Fantastic!
|
|
|
|
Post by mopar on Jul 25, 2021 19:59:40 GMT -5
Awesome!
|
|
|
|
Post by topside on Jul 26, 2021 10:01:39 GMT -5
Amazing workmanship - I'm starting to think you're 1/25 scale yourself 
On the harness along the firewall, it originates from the junction block on driver's side. The only wires at pass side are for coil, alt & washer pump, which run along rt valve cover. Hemis also had whitish plug-in there that the other engines didn't. Hope these help; I can take more.
|
|
|
|
Post by goofy62 on Jul 26, 2021 23:18:24 GMT -5
Amazing workmanship - I'm starting to think you're 1/25 scale yourself
On the harness along the firewall, it originates from the junction block on driver's side. The only wires at pass side are for coil, alt & washer pump, which run along rt valve cover. Hemis also had whitish plug-in there that the other engines didn't. Hope these help; I can take more.
My reference for the wiring harness was copied more or less directly from the engraved detail on the Revell '68 Charger's firewall. The only reason that I tried to replicate any wiring on the firewall at all was because the engraved wiring was so faint that it would have been next to impossible to detail after even the slightest amount of paint.
According to some of my reference material, this "portion" of the harness was laid out pretty much as I did it.
Of course, the majority of the wires on the passengers side would have been laid along the side of the passengers side valve cover rather than down to the bottom of the firewall, but that will open up another can of worms if I decide to go there. 
The portions of the harness that I'm referring to are outlined in orange in these photos.
Steve
|
|
|
|
Post by tubbs on Jul 27, 2021 7:00:12 GMT -5
OMG... not being that guy and i understand the importance of getting it right, but did you see that harness?!?! i couldn't do that in a billion years? and that 8-trac and steering column, simply fantastic. i see both sides to what you guys are saying. in fact, its funny, just yesterday, i was going to post a question to a facebook group, but i didn't because they are all softies over there and take everything personally and i don't need any drama yesterday. maybe i will post it here. man, i wish i still had my hemi runner.
|
|
|
|
Post by topside on Jul 27, 2021 12:37:27 GMT -5
Good reference photos; you can see the what I was referring to. The thickest part runs basically from bulkhead plug to alternator.
I mis-interpreted some of your routing, I guess. Not trying to be a wise-ass or bust your stones, just trying to be helpful. I can't touch your modeling skills !
That line they mold on the scale firewalls seems like the washer hose, but poorly rendered.
|
|
|
|
Post by tubbs on Jul 28, 2021 7:32:21 GMT -5
Good reference photos; you can see the what I was referring to. The thickest part runs basically from bulkhead plug to alternator. I mis-interpreted some of your routing, I guess. Not trying to be a wise-ass or bust your stones, just trying to be helpful. I can't touch your modeling skills ! That line they mold on the scale firewalls seems like the washer hose, but poorly rendered. i dont think Steve took that in any negative way. i dont think anyone does on any post. every post here are meant to be helpful and point out things to make a better build. everyone can learn, no matter how good you are. and for the record.... all firewalls suck!! i stole every picture from this build. when i go to do my all out 69 1/2 6 bbl road runner, i am gonna pull these pictures back out and and really look at them and say, "what the hell? how on God's green earth am i gonna do THAT!?!?" |
|
|
|
Post by topside on Jul 28, 2021 11:34:34 GMT -5
The rest of that build is so fantastic, and I don't want to come off like some armchair quarterback.
The AMT aprons & firewalls are pretty crude; for a serious model all their lines need to be sanded off and all the proper stuff made & added. The also forgot the grille mounting panel. Made my own on my Q5 car, and while I'm not completely happy with it, I learned how to do the next one better. Revell does such a better job, and I wish they made a '69 RR, rather than having to convert an AMT GTX. I need to open one of my JoHan RRs and look them over.
Yeah, there's 5 or 6 cars I miss having around, and the Hemi RR is one of 'em. But that's a whole 'nother topic, haha.
|
|
|
|
Post by goofy62 on Jul 28, 2021 11:38:27 GMT -5
Good reference photos; you can see the what I was referring to. The thickest part runs basically from bulkhead plug to alternator. I mis-interpreted some of your routing, I guess. Not trying to be a wise-ass or bust your stones, just trying to be helpful. I can't touch your modeling skills ! That line they mold on the scale firewalls seems like the washer hose, but poorly rendered. I always welcome ideas and criticisms while I'm in the process of working on a project. I've had my bacon saved numerous times by suggestions made throughout the process of working on many builds, and this project is no different.
But that said, there are times when accuracy and viability don't always coincide with each other in 1/25th scale. By viability I mean that it's not always easy, or sometimes even possible, to get every detail to fit into the model as it is on the 1:1. Or sometimes it's just very difficult to get every aspect represented as you would like to.
On another note, very often I find that even when working with quite a bit of reference material, you will frequently find variations in how things are laid out.
All that said, I do welcome ideas from fellow modelers, but I won't necessarily always follow the advice that they give, just in the interest of making progress more than anything else.
Accuracy is important to me, but I'm not above "good enough".
Steve
|
|
|
|
Post by goofy62 on Aug 7, 2021 15:21:01 GMT -5
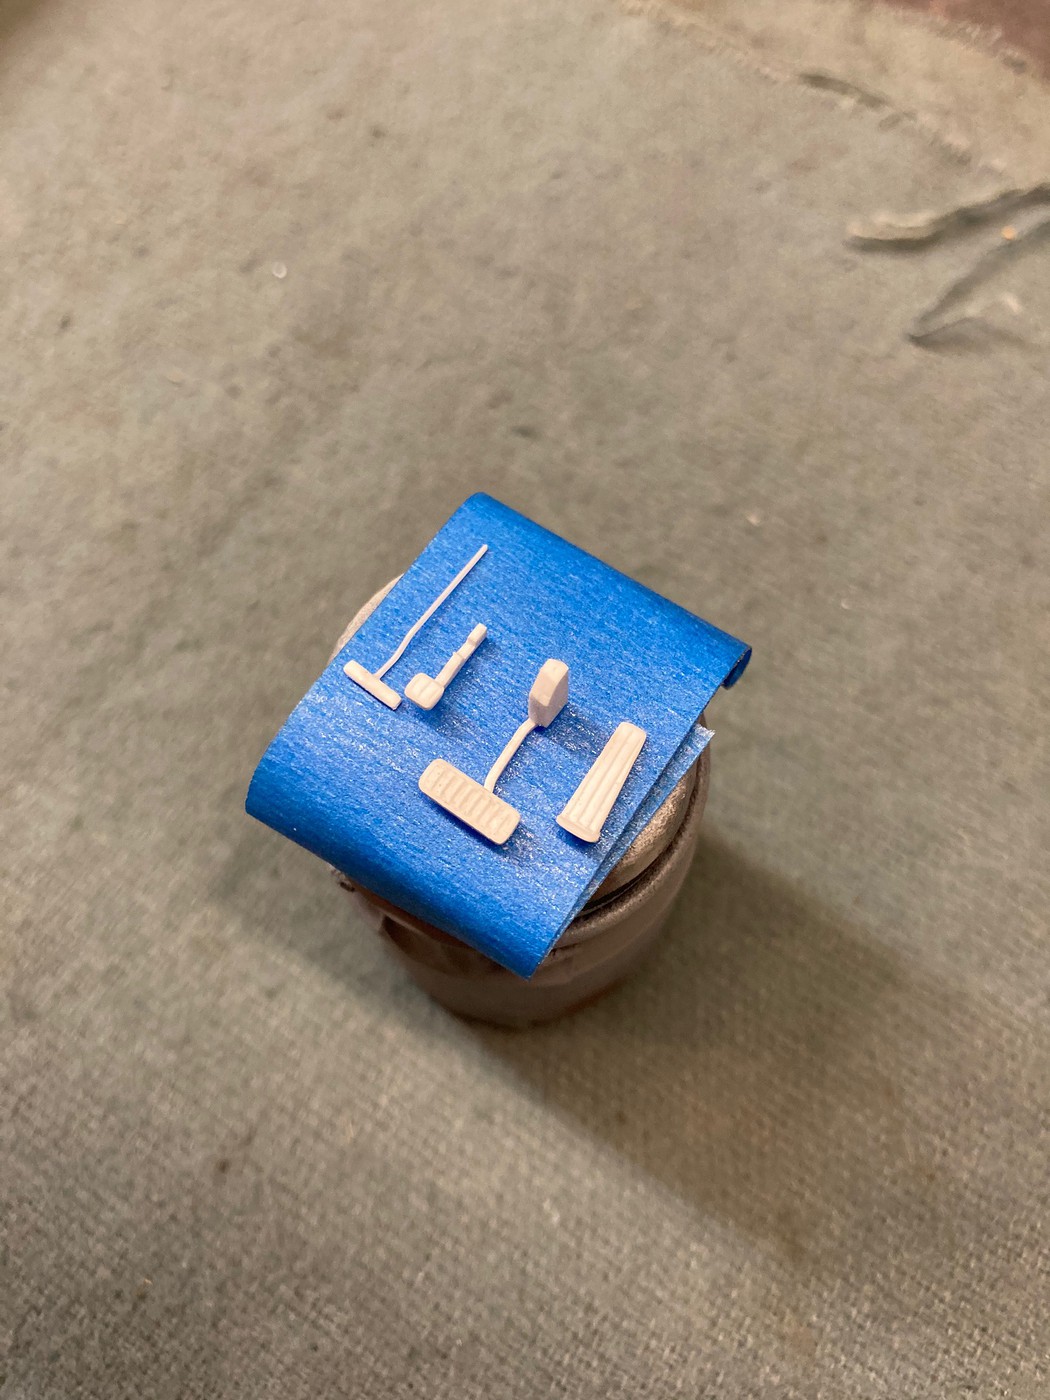
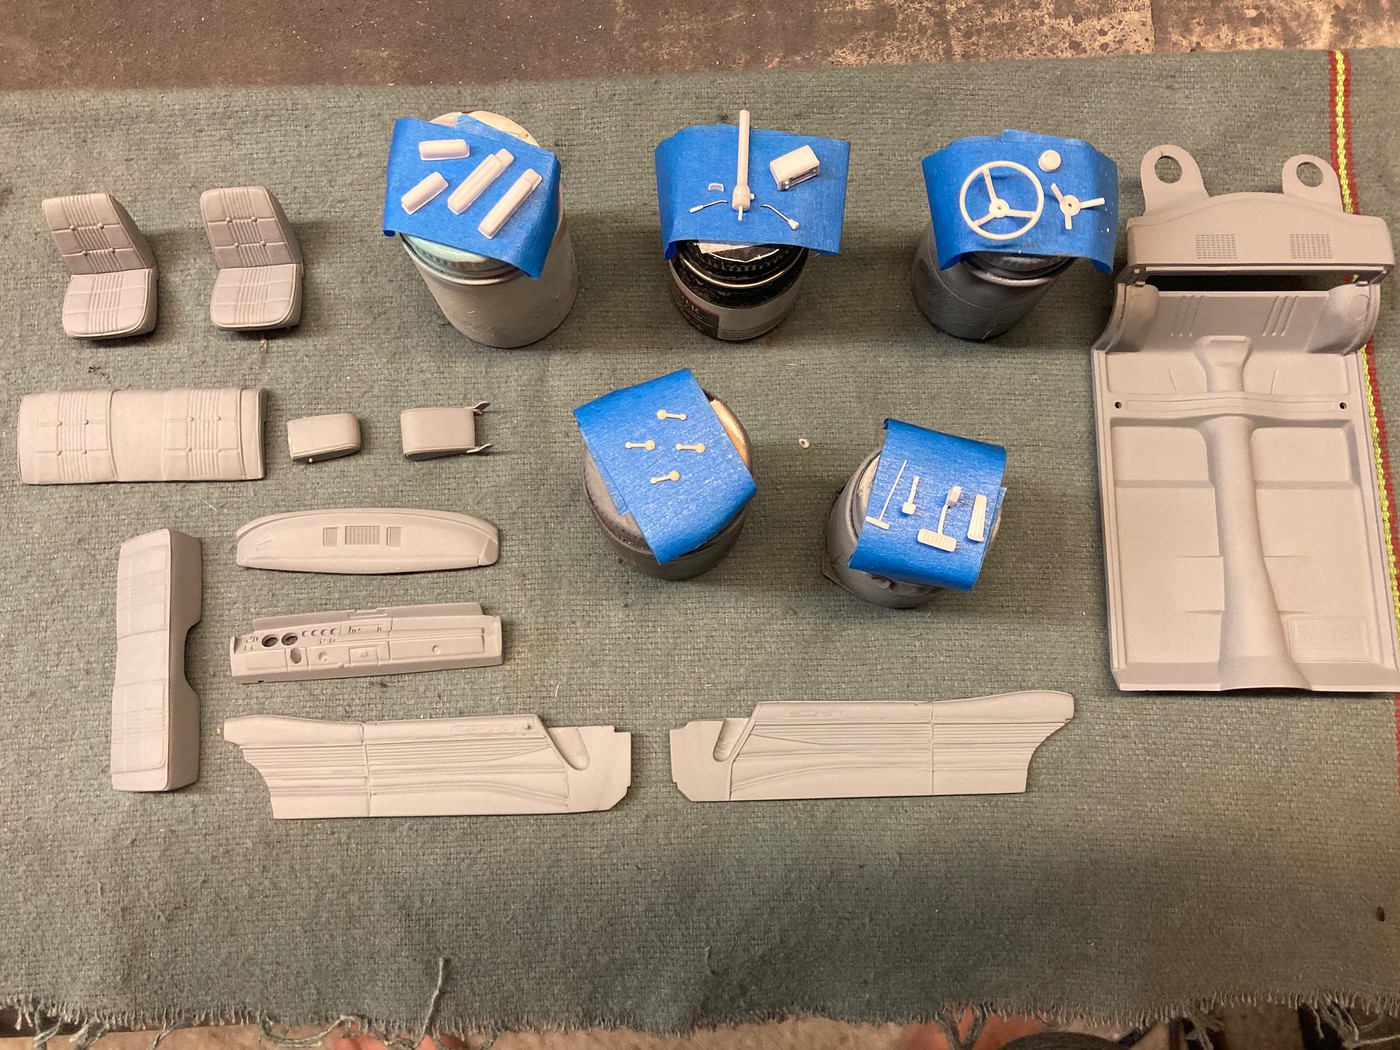
I believe that I have the rest of the parts ready for the interior.
The latest addition is a set of scratch built pedals.
All said, it appears that there will be a total of 33 parts going into this interior.......as of right now.
Steve
|
|
|
|
Post by Tuffone20 on Aug 7, 2021 16:46:48 GMT -5
Wow!! Nice job Steve!
|
|
|
|
Post by mopar on Aug 7, 2021 20:10:40 GMT -5
Your interior parts look awesome Steve can’t wait to see them painted and installed.
|
|
|
|
Post by tubbs on Aug 9, 2021 6:26:41 GMT -5
A+ Steve.
just curious, what does you stash of strip styrene look like? you must go thru a ton of that stuff on every build.
|
|
|
|
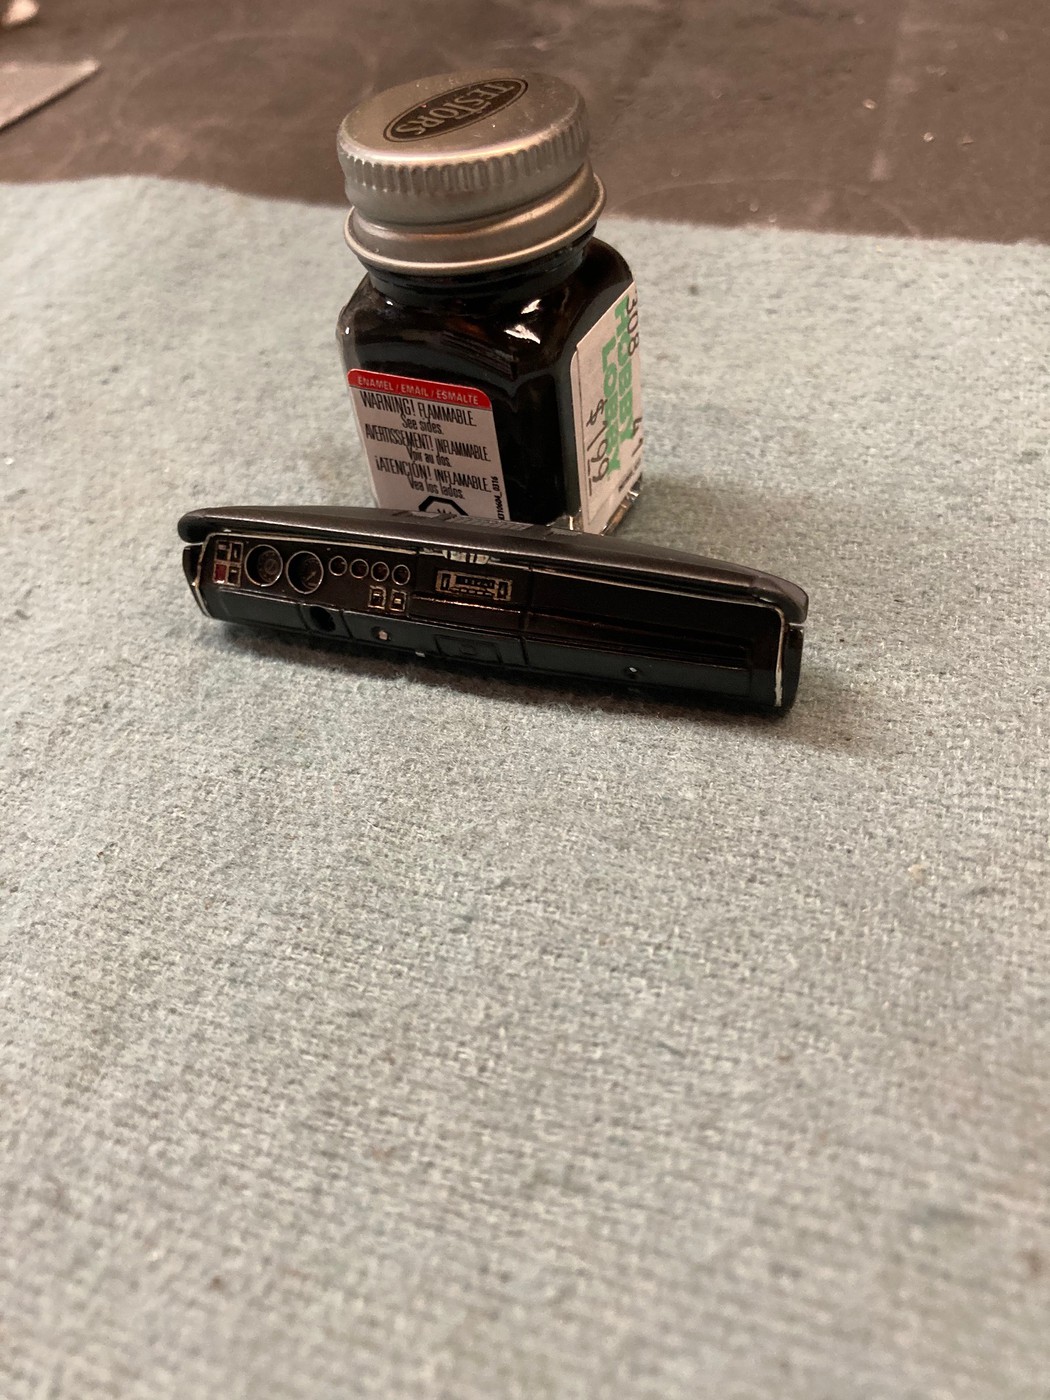
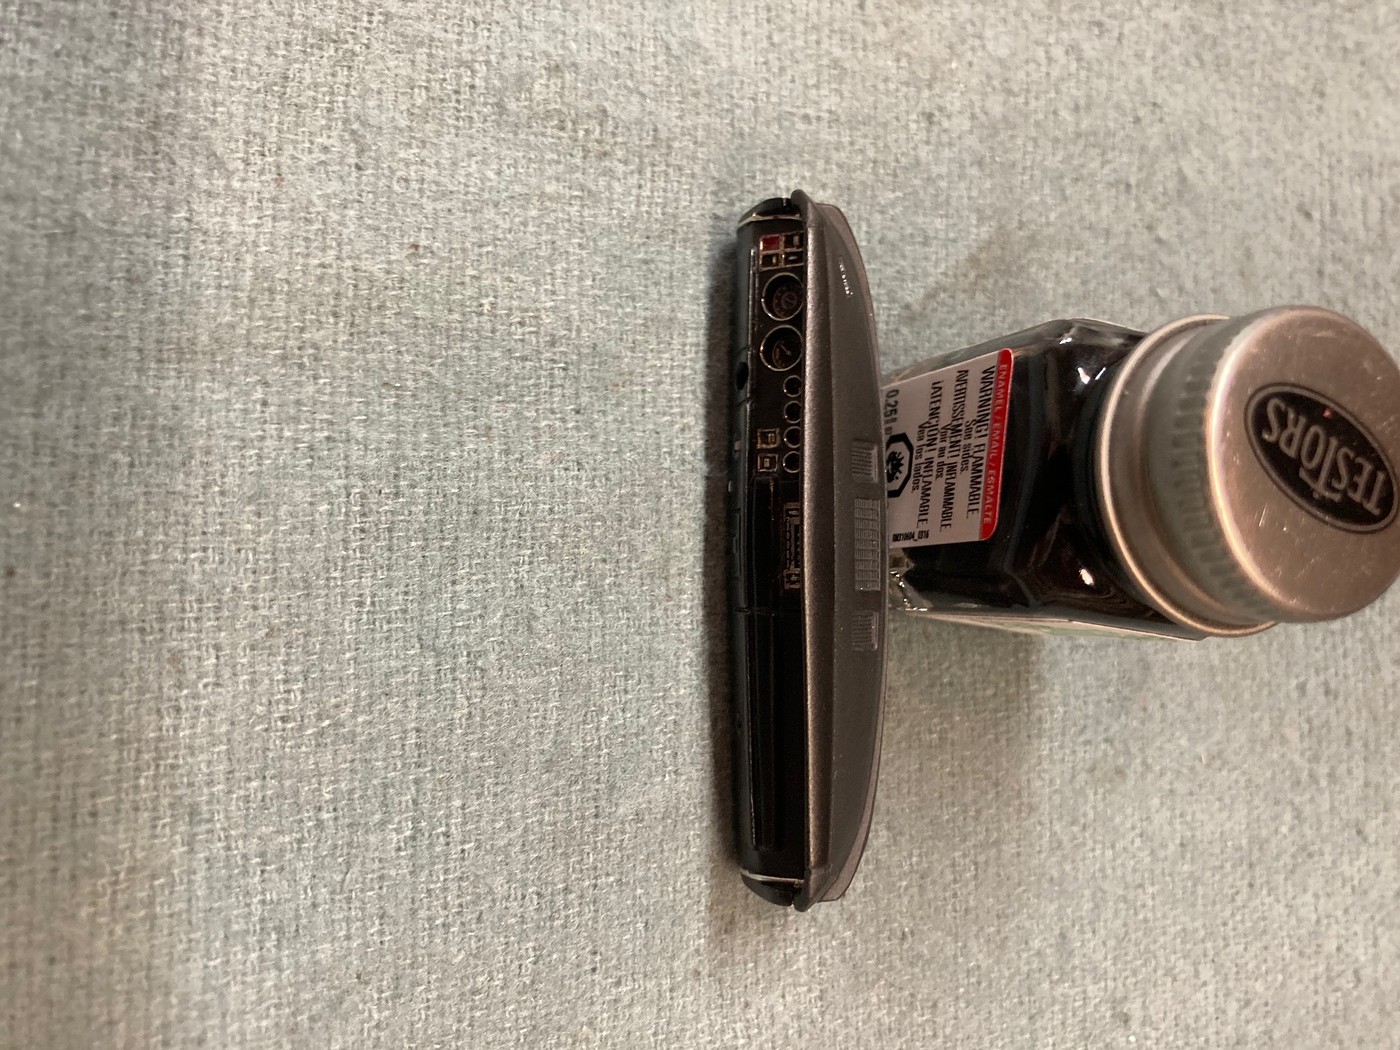
Post by goofy62 on Aug 18, 2021 16:22:31 GMT -5
I appreciate all of the nice comments guys!
I've been trying to get some of the interior moving along, but it's been slow.
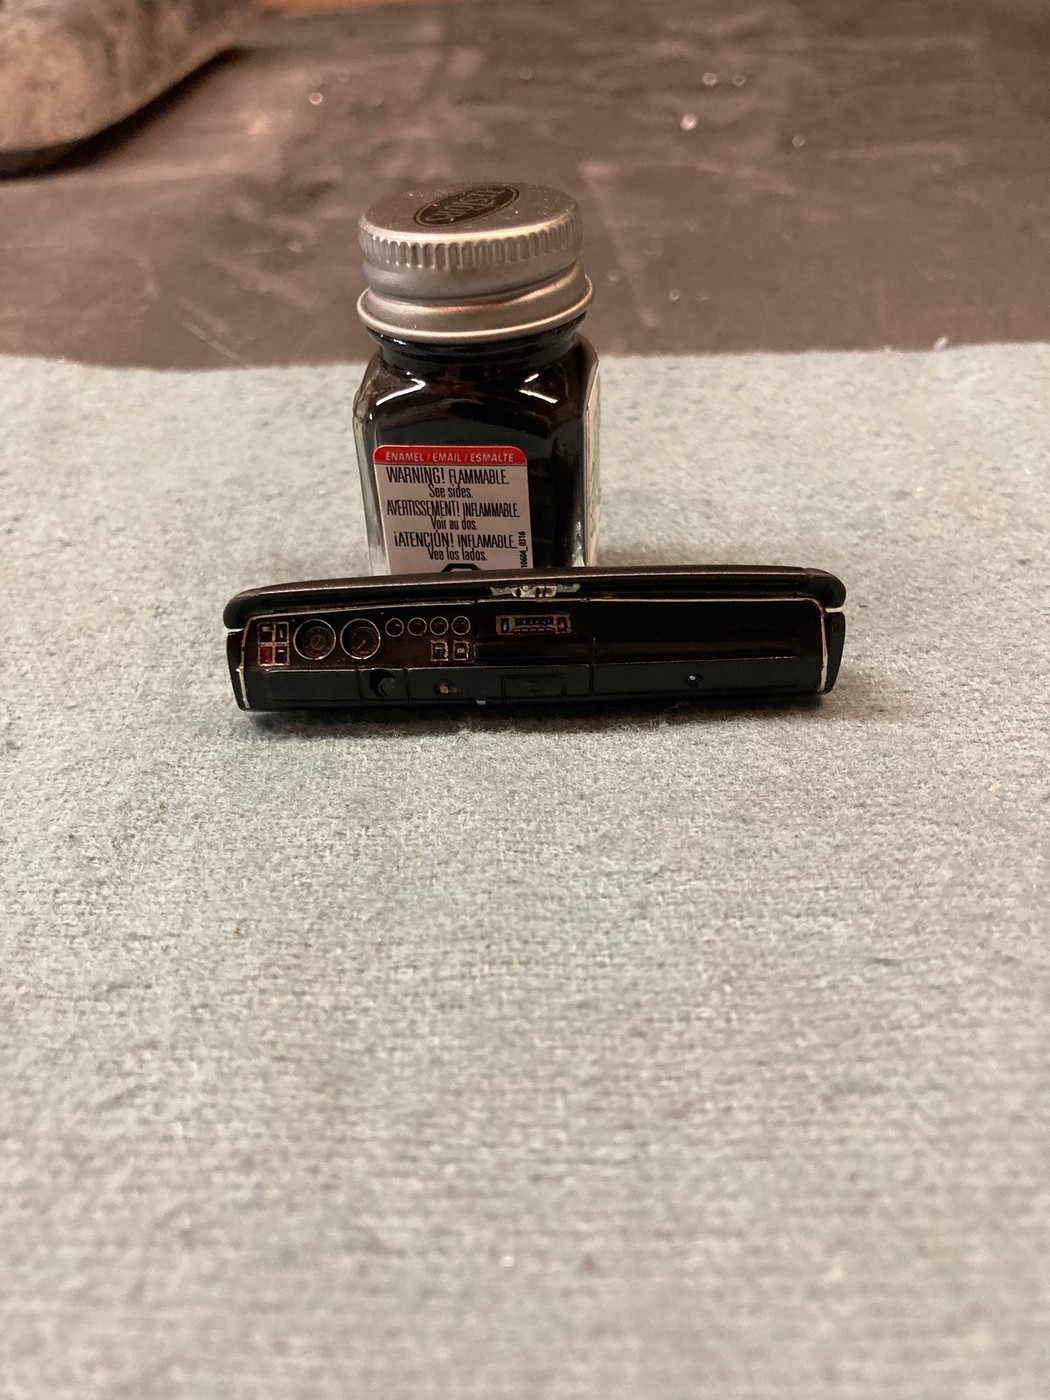
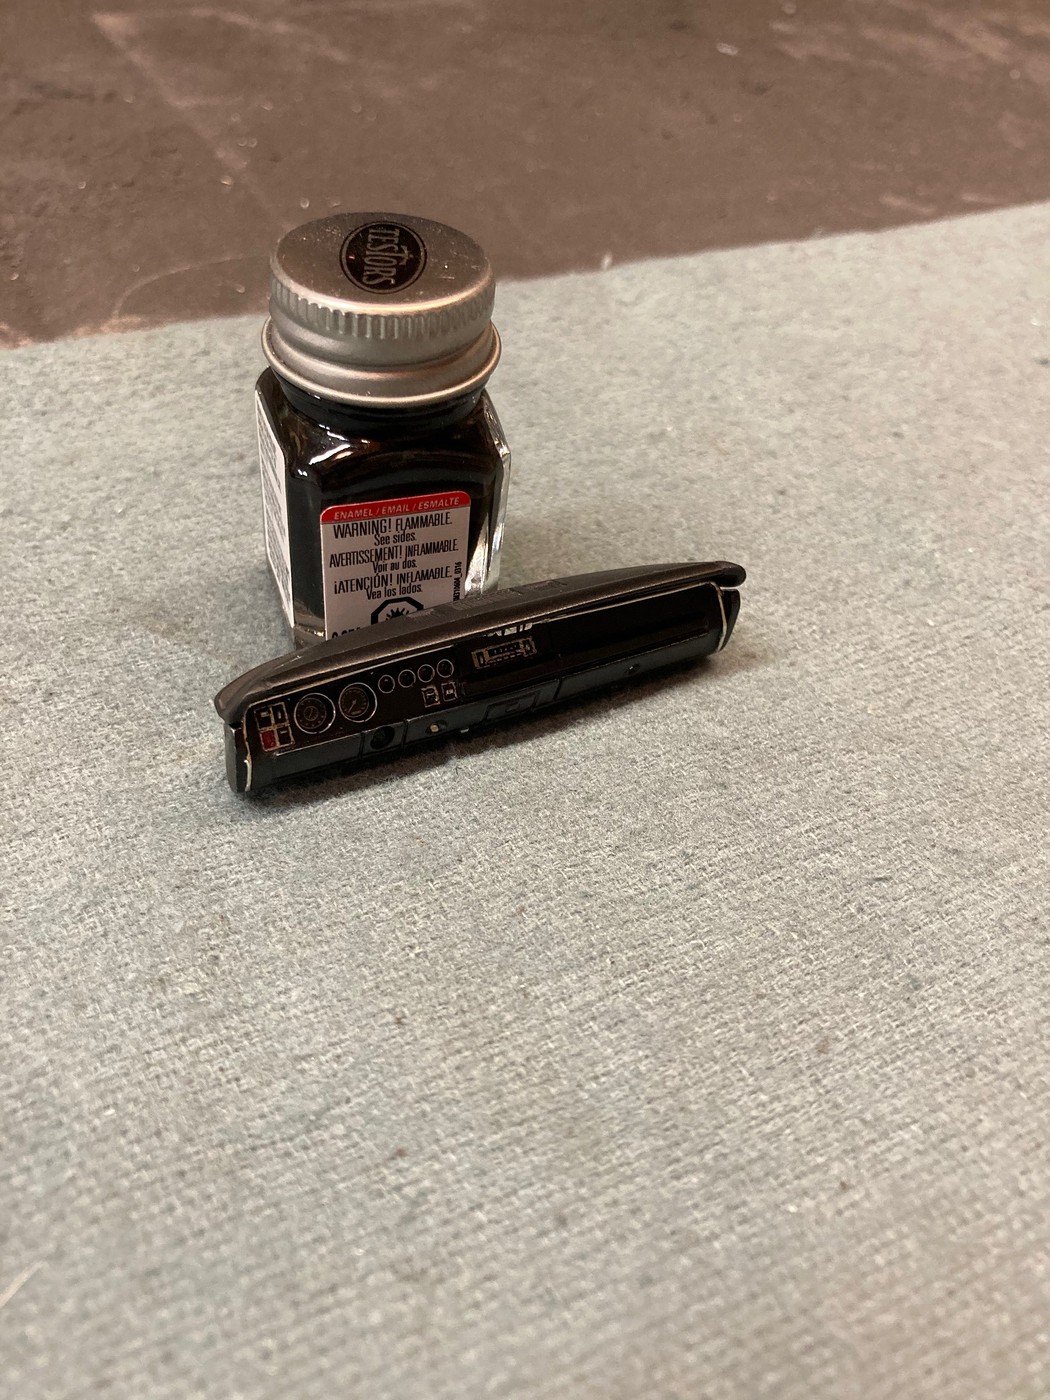
The dash board fought me a little, but I think it's time to call at least that piece done.
Aside from the original modifications made prior to sending it out for Ed to duplicate, I've also added wire rings for the gauge face trim and a piece of trim around the perimeter of the dash panel, which was absent, and I feel missed, on the Revell dash.
I'm confident that the remainder of the interior will go better! 
Steve
|
|
|
|
Post by Tuffone20 on Aug 18, 2021 17:29:12 GMT -5
That dash looks great Steve
|
|